
Ok Im going to assume that you have done all that I have mentioned above. And your Adsense account has been approved:
In the last 24 hours I have probably spent at least 30 minutes working on this post..
It is designed to find some potential costumers that are looking for a custom wine rack to be built.
Although I have very little time to do a project of this nature should one arise I would make time..
most of it is pretty straight forward:
Step 1:
Open your blogger account
Step 2:
Enter user name and password
If your haven't already your going to need to create your first blog, its really your first website..
It should look something like this look for the Text that says "Create Blog"
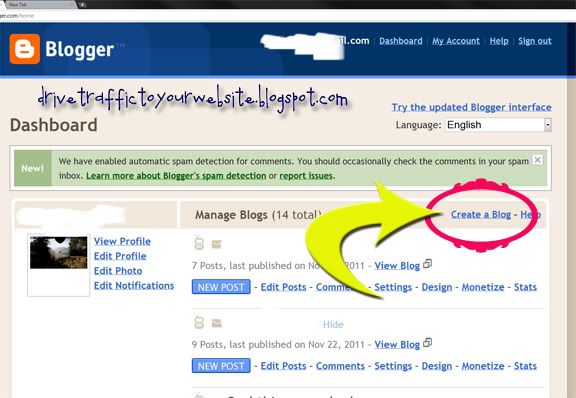
Name the blog anything that comes to mind that sounds somewhat hip =D!
Then once the Blog has been created your going to want to click on new post..
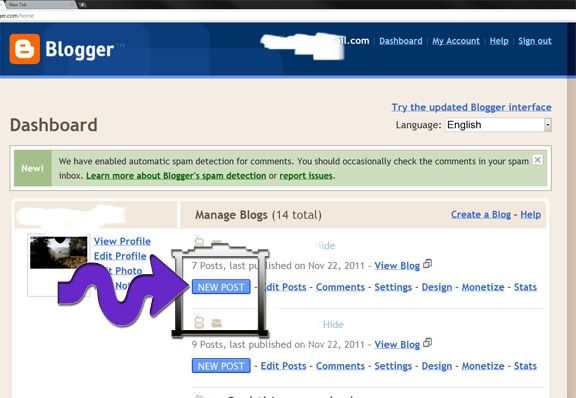
Then go ahead and write some basic text, people want to hear what you have to say so write about what ever comes to mind...
Me personally I could write about alot of stuff that people would want to read but at the end they would just say, "Wow this guys has no perception of reality". Truth is I probably don't. but then again I'm not the typical 9-5 kinda dude ...
Ok How that you have some content on your site its time to add some pictures. To do this we nee to go to our photobucket.com account..
Once you get logged in it should look something like this:
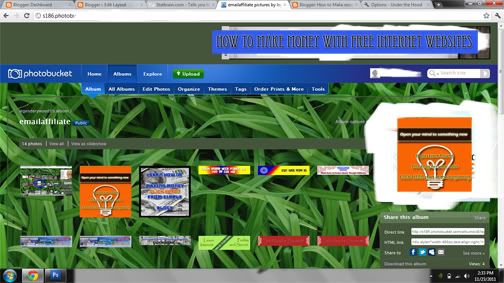
Im sure your not going to be seeing my ads on your photobucket account though..
Next your going to want to click on the UPload Button it should look like this:
Once you have clicked on it it should bring up a menu that looks similar to this:
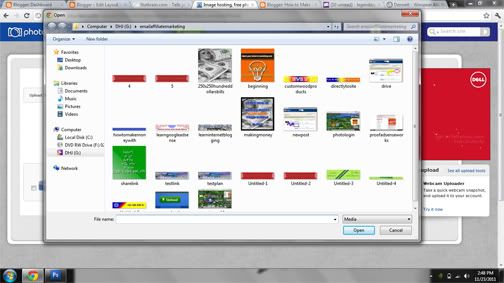
Select on the files you wish to upload, if there is multiple images you need to upload HOLD DOWN Ctrl and click the open you need...
Then click OPEN...
After they have finished uploading they are go to a page like this:
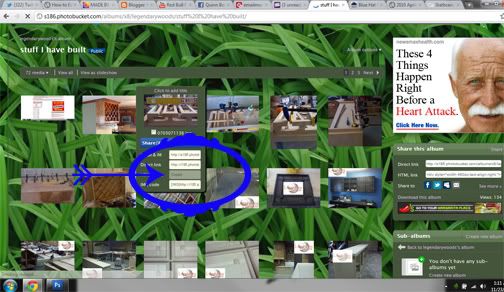
Hovering the cursor over the image will bring a drop down menu, like the one above in the blue frame. Click on the Line that has HTML next to it, this will copy the image HTML code to the computers clip board... Notice in the image how it says "Copied"
The HTML code is the physical address of your image on the World wide WEB..
Now you might be thinking why cant I just upload these images to blogger? You can but you dont have unlimited space on your blogger account it would quickly fill up.
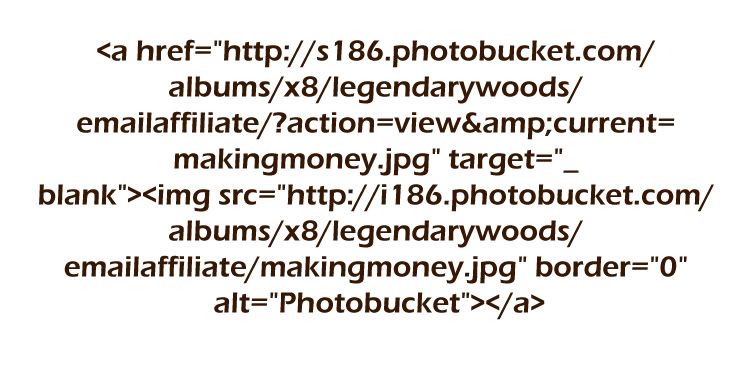
Here is a picture of some html image code so you have an idea of what it looks like..
Now that you have done all that go back into your blog post that you have been working on place the cursor where you want the image to appear and press "ctrl V"
This is going to take the previously copied Html code from your photobucket account and copy it to your blog post.
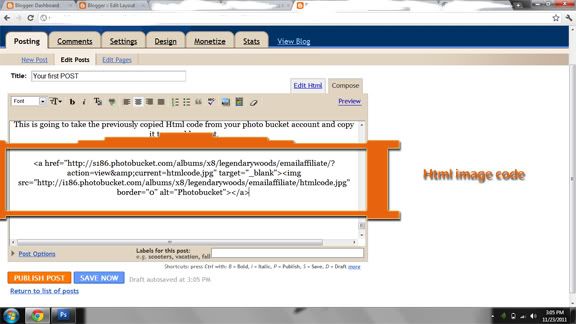
Once this is done click the Edit Html tab on the top right side of the window your typing in and then click the "Compose" tab to see your image..
No comments:
Post a Comment